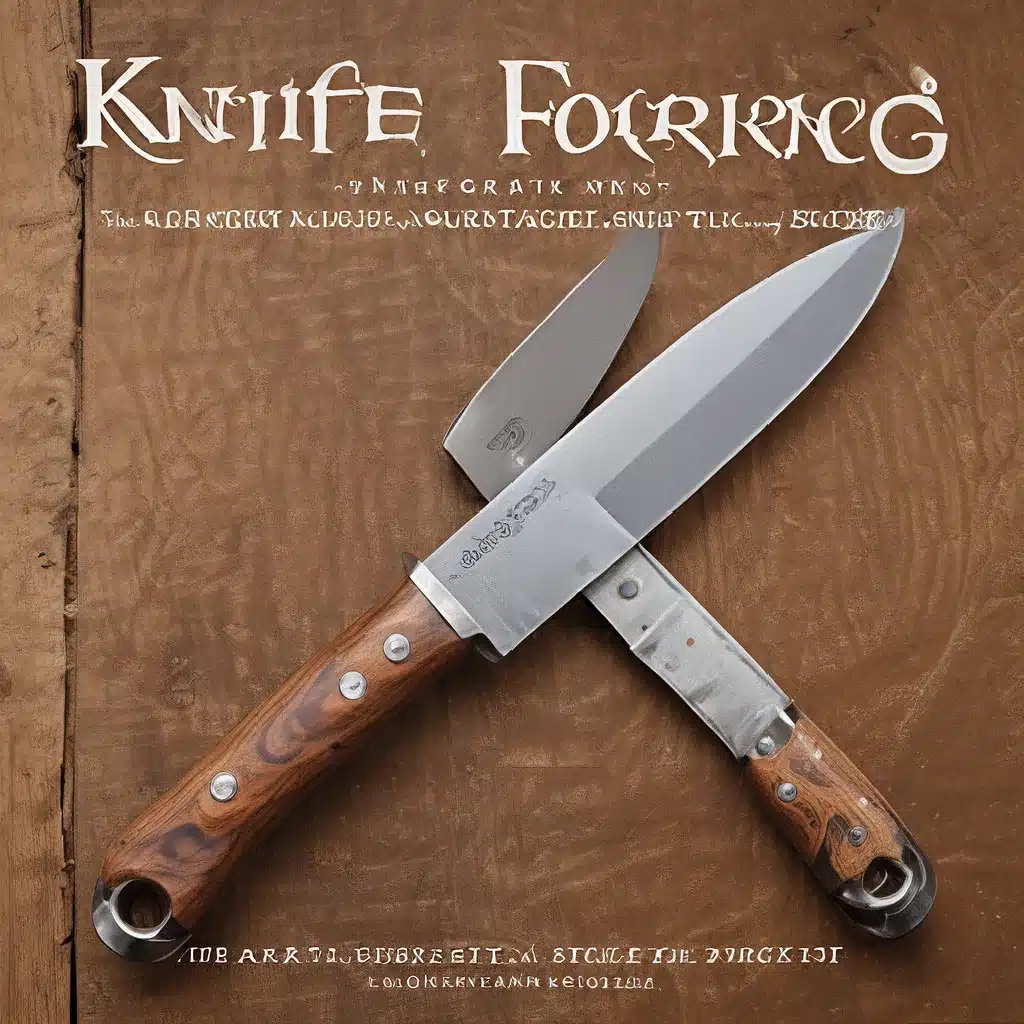
Have you ever gazed upon a finely crafted knife and wondered, “How on earth did they make that?” Well, my friend, the art of knife forging is one that has captivated the hearts and hands of artisans for centuries. It’s a dance of fire, steel, and unwavering dedication – and today, I’m going to let you in on the secrets.
The Forging Fundamentals
Before we dive into the nitty-gritty of blade-making, let’s talk about the basics. Forging is the process of heat and working metal to produce sharp-edged tools of high-carbon steel. It’s a skill that requires patience, precision, and a deep understanding of the materials you’re working with.
One of the most crucial elements to master is blade design. The shape and characteristics of your blade will depend on its intended purpose – whether it’s a chef’s knife, a hunting knife, or a sword. Factors like beveling and tang construction (the part of the blade that extends into the handle) all play a crucial role in the final product.
As the experts at The Crucible explain, “Bladesmiths use various metalworking techniques to forge blades, woodworking skills for knife and sword handles, and leatherworking knowledge to make sheaths.” It’s a truly multifaceted art form.
The Bladesmith’s Toolkit
Now, let’s talk about the tools of the trade. At the heart of every bladesmith’s workshop is the forge – the source of that mesmerizing, fiery dance. Whether it’s a traditional coal-fired forge or a modern gas-powered one, this is where the magic happens.
Alongside the forge, you’ll need a few other essential items:
– A hammer – start with a basic ball-peen or cross-peen from your local hardware store, and you can upgrade to specialized blacksmith hammers as you progress.
– An anvil – even a used anvil with a few dings can be easily resurfaced and put to good use.
– A set of tongs – invest in different sizes to handle varying thicknesses of metal.
– A post vise – the blacksmith’s best friend, designed to withstand the rigors of hammering.
As The Crucible notes, “It is easy and cost-effective to start with a used anvil. Even if an anvil has some dings, you can easily resurface it.”
Getting Started: The Path to Mastery
Now, the big question: how does one become a bladesmith? Well, my friends, there are a few different routes you can take.
Formal Education: If you have the time and resources, you could pursue a bachelor’s degree in blacksmithing. This will give you a solid foundation in the fundamentals and access to professional-grade equipment.
Apprenticeship: Unlike blacksmithing, formal apprenticeships in bladesmithing can be a bit tricky to come by. Your best bet is to reach out to experienced bladesmiths in your area and see if they’re willing to take on an apprentice.
Self-Taught: You can certainly set up a forge in your own garage and experiment with different techniques on your own. But, as the experts at Cascadia Center for Arts & Crafts suggest, “to really start from nothing, you should be taught by a professional in a class setting.”
Workshops and Classes: Luckily, there are plenty of expert bladesmiths who offer workshops and classes. Organizations like The Crucible and the American Bladesmith Society are great places to start your journey.
No matter which path you choose, the key is to dive in headfirst and immerse yourself in the art. As with any craft, the more you practice, the better you’ll become. And who knows – maybe one day, you’ll be the one crafting a knife that leaves someone in awe.
The Art of Heat Treating
Alright, let’s talk about the most crucial step in knife forging: heat treating. This is where you take your freshly forged blade and transform it into a work of functional art.
The process involves heating the blade to a specific temperature, then rapidly cooling it in oil. This sudden change in temperature forces the steel into its strongest state, known as martensite. It’s a delicate dance, as the temperature and quenching process must be carefully controlled to avoid damaging the blade.
As the experts at The Crucible explain, “Certain kinds of alloys work best at a specific heat to best refine your blades grain structure. Heating the blade to a critical temperature and then quenching it in oil forces the steel into its strongest state.”
Once the heat treating is complete, it’s time to polish the blade. This involves starting with a coarse grit of emery paper and gradually working your way down to a finer grit, until the blade has reached your desired finish.
Perfecting the Edge
The final step in the bladesmith’s journey is sharpening. This is where you transform your forged and polished blade into a true cutting instrument. Using a whetstone, you’ll carefully hone the edge, removing any imperfections and creating a razor-sharp finish.
It’s a delicate process that requires patience and a keen eye. As you sharpen, you’ll need to constantly check the blade’s profile, ensuring that the bevel is even and the edge is true. It’s a dance of steel, stone, and pure concentration.
Embracing the Journey
Knife forging is not a pursuit for the faint of heart. It’s a demanding craft that requires dedication, skill, and a deep appreciation for the materials you’re working with. But for those who are willing to take on the challenge, the rewards are truly exceptional.
As you embark on your own bladesmith’s journey, remember to embrace the process. Savor the dance of fire and steel, the satisfying thud of the hammer, and the pure joy of watching a blade take shape under your skilled hands. And who knows – maybe one day, you’ll be the one crafting a knife that leaves someone in awe.
So, my friends, what are you waiting for? Grab your tongs, stoke the forge, and let’s get to work. The art of knife forging awaits.


