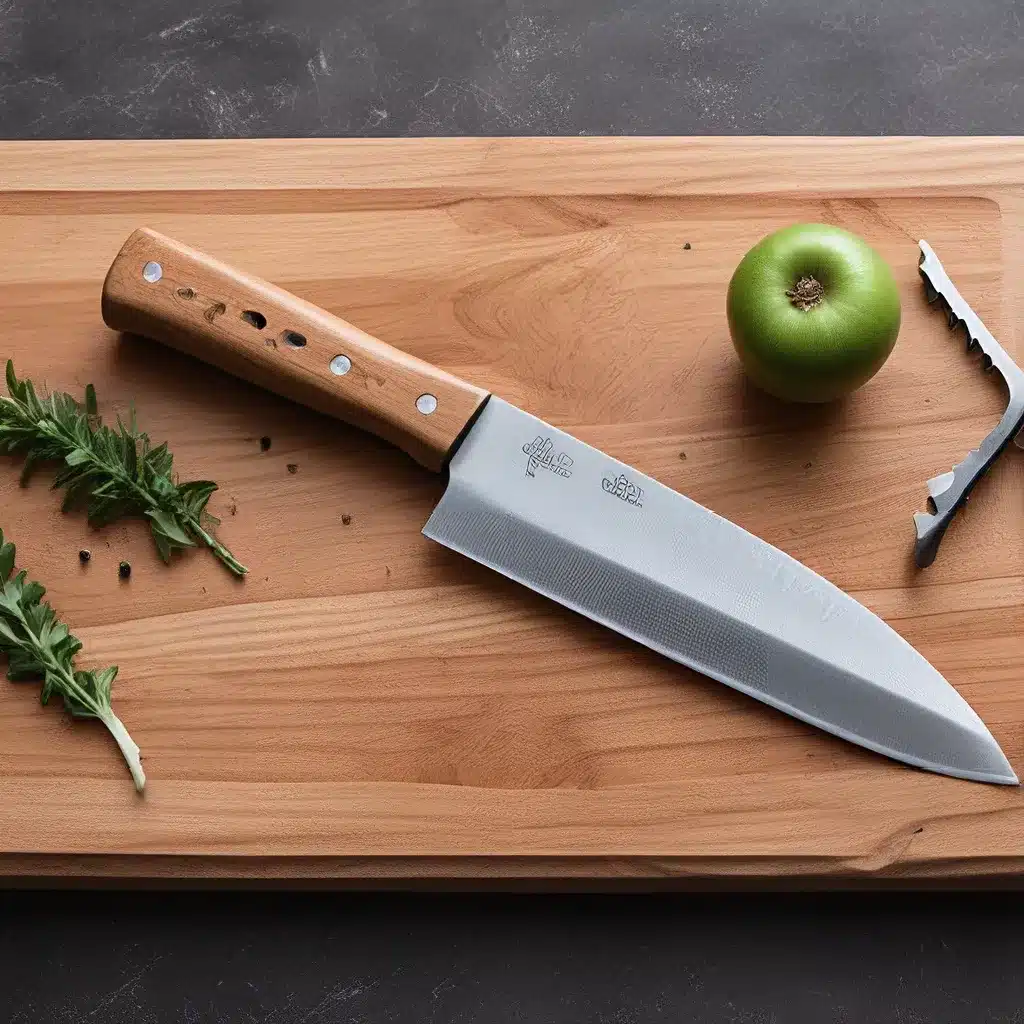
The Razor’s Edge: Unlocking the Secrets of Knife Sharpening
As a self-confessed knife fanatic, I’ve long been on a quest for the ultimate sharpness. Whether I’m filleting fish or field-dressing game, there’s nothing quite like the satisfying glide of a razor-sharp blade. But until recently, I thought I was already doing a pretty darn good job at keeping my knives in top condition.
That was, of course, before I met Cameron Tait – a two-time gold-medal winning chef who represented Canada at the Culinary Olympics. This guy knows a thing or two about sharp knives, and he was about to school me in the art of true knife mastery.
Sharper Than a Samurai’s Sword
I’ll never forget the day I handed Cameron my well-worn Rapala knife and Buck knife – tools I’d used to process countless fish and game over the years. He ran his finger along the edges, scrunched up his nose, and uttered those dreaded words: “B-minus.” A B-minus? Are you kidding me? I thought those blades were at least A-plus worthy!
But Cameron quickly set out to prove me wrong. Using a trio of Japanese water stones, he went to work, carefully honing and refining the edges with practiced precision. And let me tell you, the transformation was nothing short of jaw-dropping.
As I watched the process unfold, I was captivated by the way Cameron effortlessly glided the blades across the stones, seemingly guided by some innate knife-whispering ability. With each pass, the edges became sharper and sharper, until they were so razor-keen that he could easily remove the hair from his arm.
The Three-Stone Sharpening Technique
So, what was the secret behind Cameron’s knife-sharpening prowess? It all came down to the three-stone technique, a method that professional chefs and outdoorsmen swear by.
The process goes like this:
- Coarse Stone: Start with a coarse, low-grit stone (around 300-1000 grit) to quickly remove any significant damage or nicks in the blade.
- Medium Stone: Move on to a medium-grit stone (1000-3000 grit) to refine the edge and get it closer to the desired sharpness.
- Fine Stone: Finish up with a fine-grit stone (5000-8000 grit) to hone the edge to a razors-edge finish.
The key is to take your time and use consistent, even strokes as you move through the stones. This ensures a perfectly uniform edge that will stay sharp for much longer.
Mastering the Angle
Of course, sharpening isn’t just about the stones – the angle at which you hold the blade is also crucial. Most experts recommend a 15-20 degree angle for kitchen knives and a 20-25 degree angle for hunting and outdoor knives.
Using a knife sharpener with built-in angle guides can be a huge help, especially when you’re first starting out. And don’t be afraid to experiment – the perfect angle for your knife may take some trial and error to discover.
Maintaining that Razor’s Edge
But the work doesn’t stop once your knife is razor-sharp. To keep it in top condition, you’ll need to hone the edge regularly using a honing steel or ceramic rod. This helps realign the microscopic teeth on the blade, ensuring it stays sharper for longer.
And don’t forget to store your knives properly – a knife block or magnetic strip is ideal to prevent the blades from getting dinged or dulled in the drawer.
The Cutting Edge of Knife Care
So there you have it – the secrets of knife sharpening, straight from the lips of a world-renowned chef. With a little practice and the right tools, you too can achieve that coveted razor-sharp edge on all your hunting, fishing, and kitchen knives.
And who knows, maybe one day you’ll even be able to give Cameron Tait a run for his money. Just don’t be surprised if he still manages to one-up you – the guy’s a true knife-sharpening wizard.
Happy slicing!


